Product was successfully added to cart Product was successfully added to wishlist Your bid has been placed
{{PopupAddToCartVueModal.ProductName}}
There are {{PopupAddToCartVueModal.TotalItems}} in your cart. There are {{PopupAddToCartVueModal.TotalItems}} in your wishlist. You have {{PopupAddToCartVueModal.TotalItems}} ongoing auctions
Multi Tenant
1. How to install
This step is obvious. It’s exactly the same in every plugin. To install a plugin you should perform the following steps:
1. In the admin panel, go to Plugins-> Local Plugins and Upload the plugin by pressing the Upload button in the top right corner.
2. Restart your application (or click Reload list of plugins button).
3. Scroll down through the list of plugins to find the newly uploaded plugin.
4. Click on the Install link to install the plugin.
5. The plugin is displayed in the Plugins windows (Plugins → Local Plugins).
2. How to configure the Multi-Tenant plugin
First of all, after an installation of the plugin, we will need to enable proper permissions in the Configuration -> Permissions page. Scroll down and find the permissions related to the Multi-Tenant plugin.
It should be enabled only for the Administrator customer group.

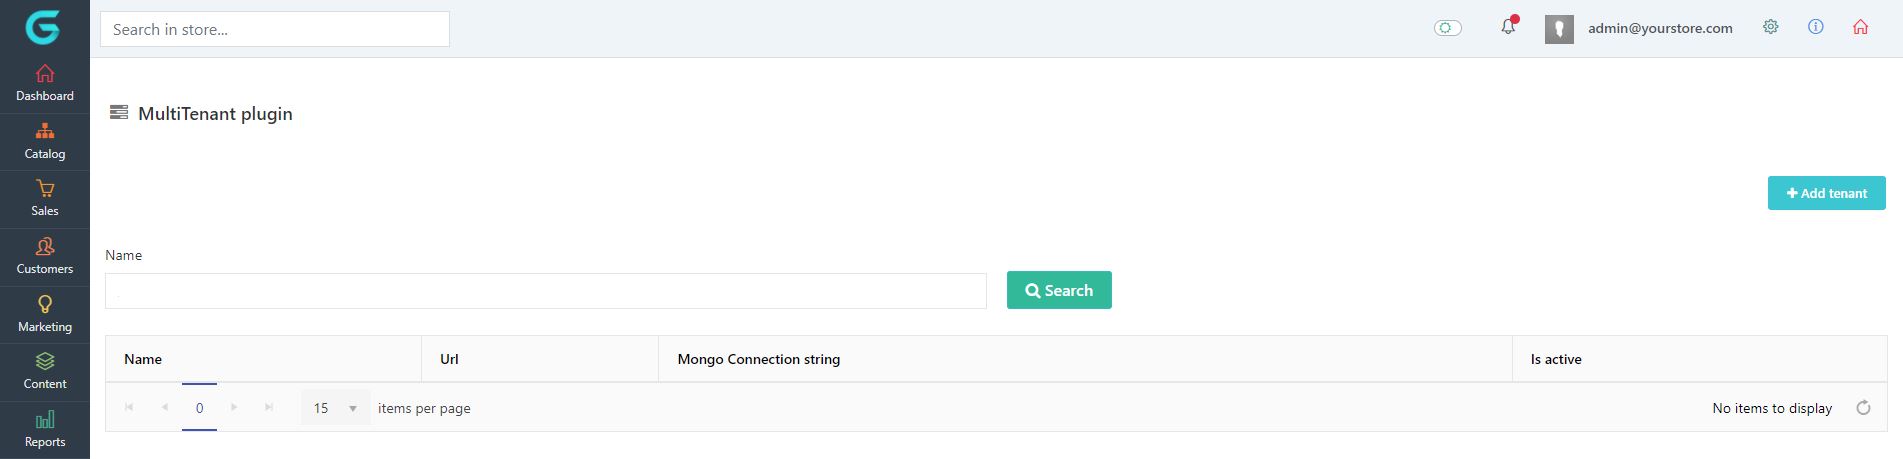
After you save the settings, you will be able to access the Tenants list and the Configuration page.
Open the configuration page from the Extensions sidebar menu by pressing the Configure button.
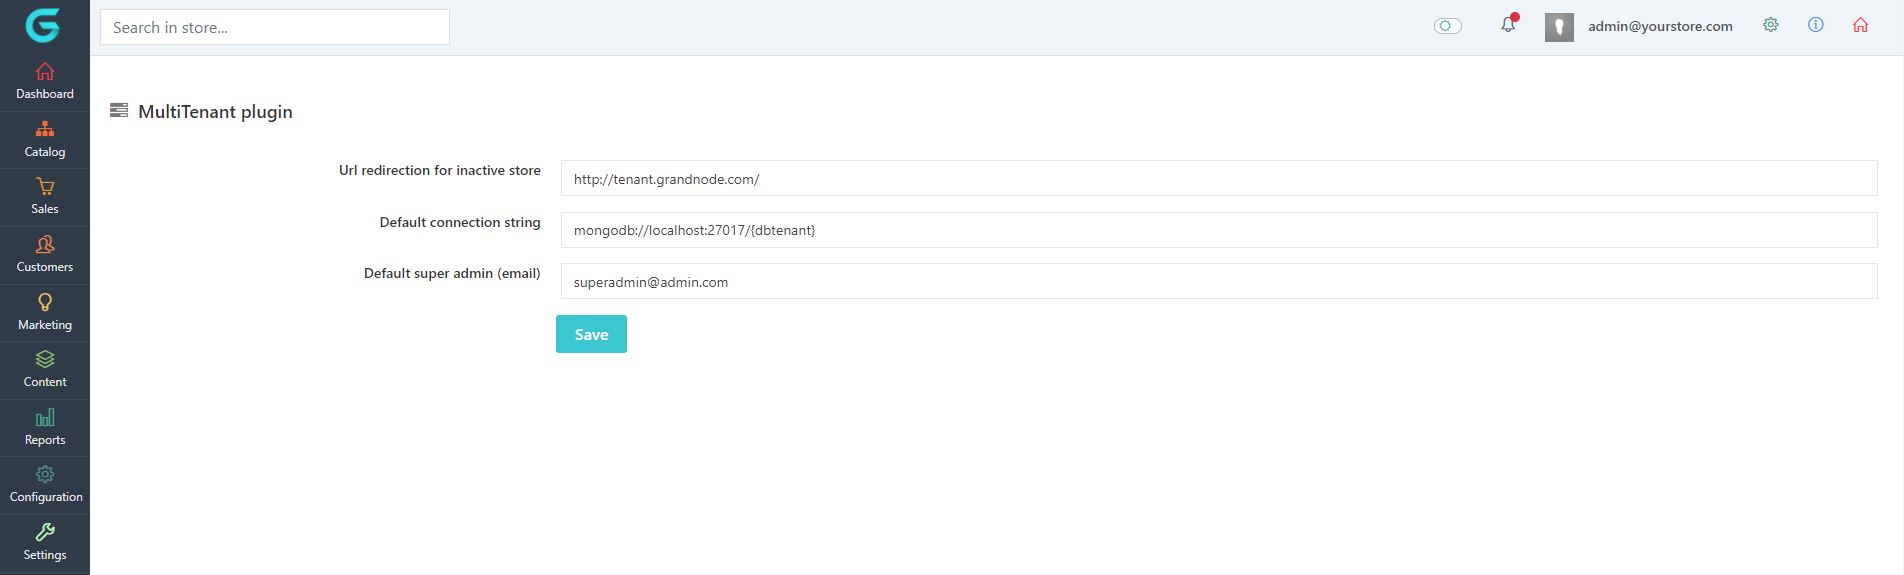
On the Configuration page, we will need to specify three fields:
URL Redirection for the inactive store - when your tenant is not active and the customer will try to access it, GrandNode will redirect the customer to the URL that you provide here. It can be your main store or landing page, anything you want.
Default connection string - is a default connection string, you will be able to modify the {dbname} directly on every new tenant.
Default super admin (email) - email address of super admin, every tenant will have a super admin account. You can log in to the super admin account via the tenant configuration page by pressing the Login as a super admin button.
Now it's time to create our first tenant.
Then jump into the Tenant List and press the Add new button.
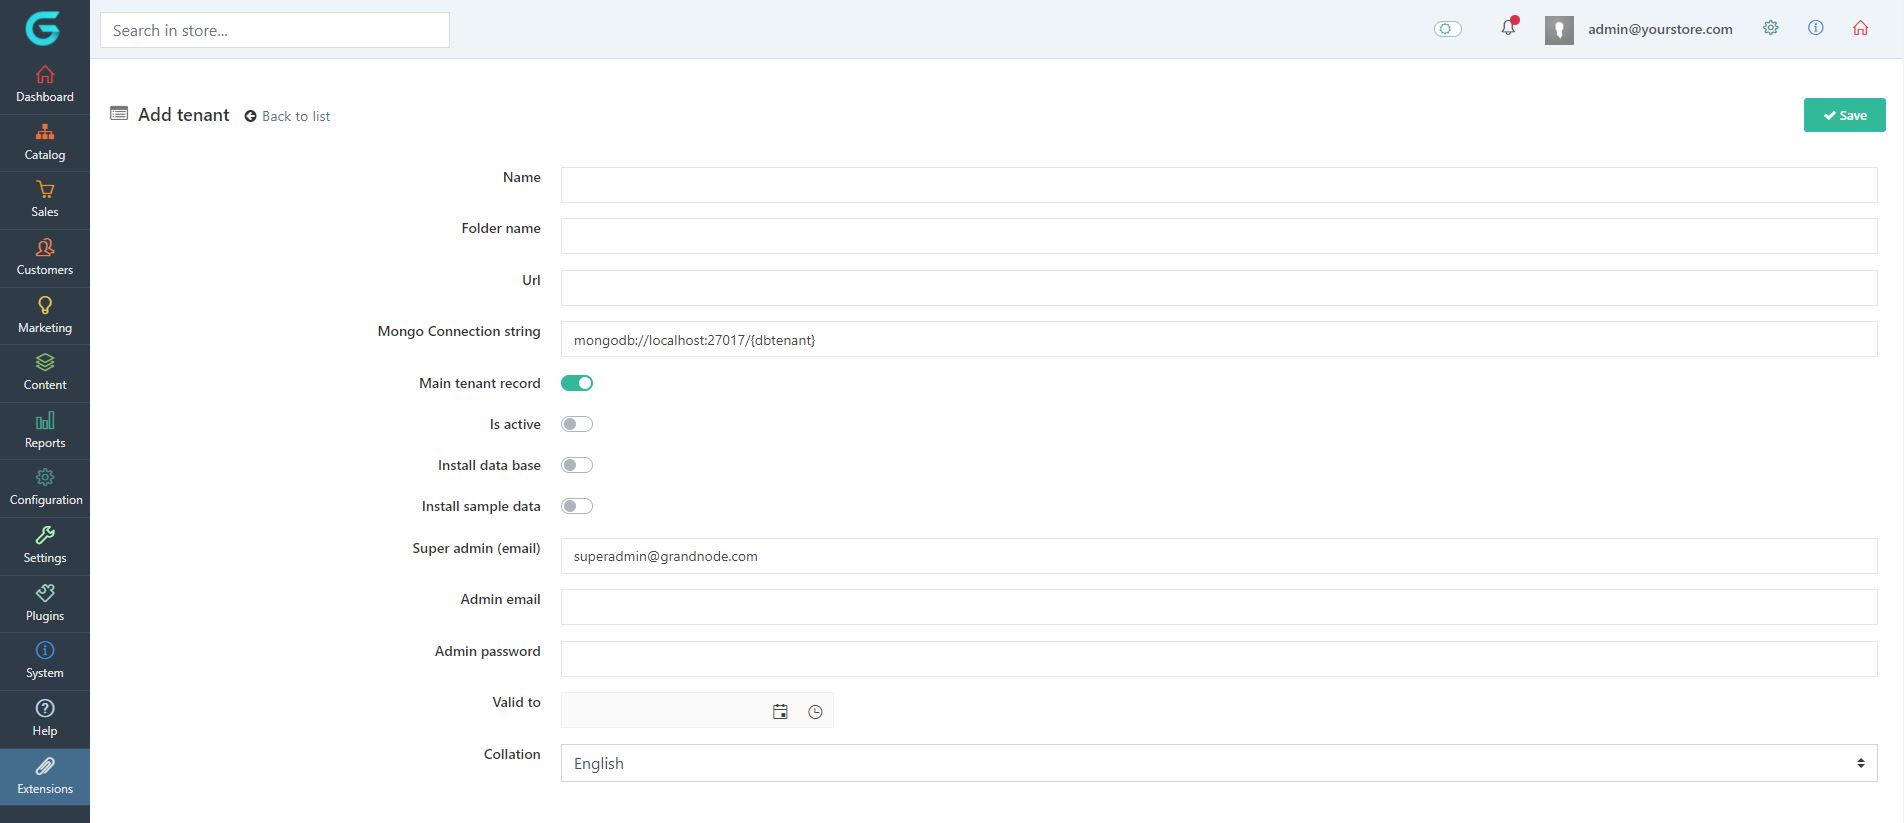
The creation process is straightforward. Everything comes to filling the necessary fields in the creation form.
- Scheduled Tasks
- Plugins management
- System information
- Customer Reminders
- Auction system
- External Authorization is not supported
- Push notifications are not supported
- Tenants don't have the possibility to upload their own pictures via elFinder.
Important information: tenants have only one scheduled task supported at the moment, it's the "Send emails" task and it's configurable directly from the main store. If you want to use other tasks, your developer has to develop them. Every tenant has access to the maintenance tools like clearing requests, logs.
Also please note that if you use multiple domains on a single tenant, emails will be sent from the main tenant email address.
3. Obligatory appsettings.json values
First of all, you have to set "IgnoreDbVersionCheckMiddleware" to true.
4. Recommended appsettings.json values
For security reasons, you should disable the plugin upload. You can do it by setting "DisableUploadExtensions" to true.
Then "IgnoreInstallUrlMiddleware" to true.