Product was successfully added to cart Product was successfully added to wishlist Your bid has been placed
{{PopupAddToCartVueModal.ProductName}}
There are {{PopupAddToCartVueModal.TotalItems}} in your cart. There are {{PopupAddToCartVueModal.TotalItems}} in your wishlist. You have {{PopupAddToCartVueModal.TotalItems}} ongoing auctions
Advanced Multi-Store
1. How to install
This step is obvious. It’s exactly the same in every plugin. To install a plugin you should perform the following steps:
1. In the admin panel, go to Plugins -> Local Plugins and Upload the plugin by pressing the Upload button in the top right corner.
2. Restart your application (or click Reload list of plugins button).
3. Scroll down through the list of plugins to find the newly uploaded plugin.
4. Click on the Install link to install the plugin.
5. The plugin is displayed in the Plugins windows (Plugins → Local Plugins).
2. How to configure the Advanced Multi-Store plugin
First of all, we need to have the manager account. You can ask somebody to register in your store, create such account by yourself or use the Advanced Multi-Store plugin and use the submission form.
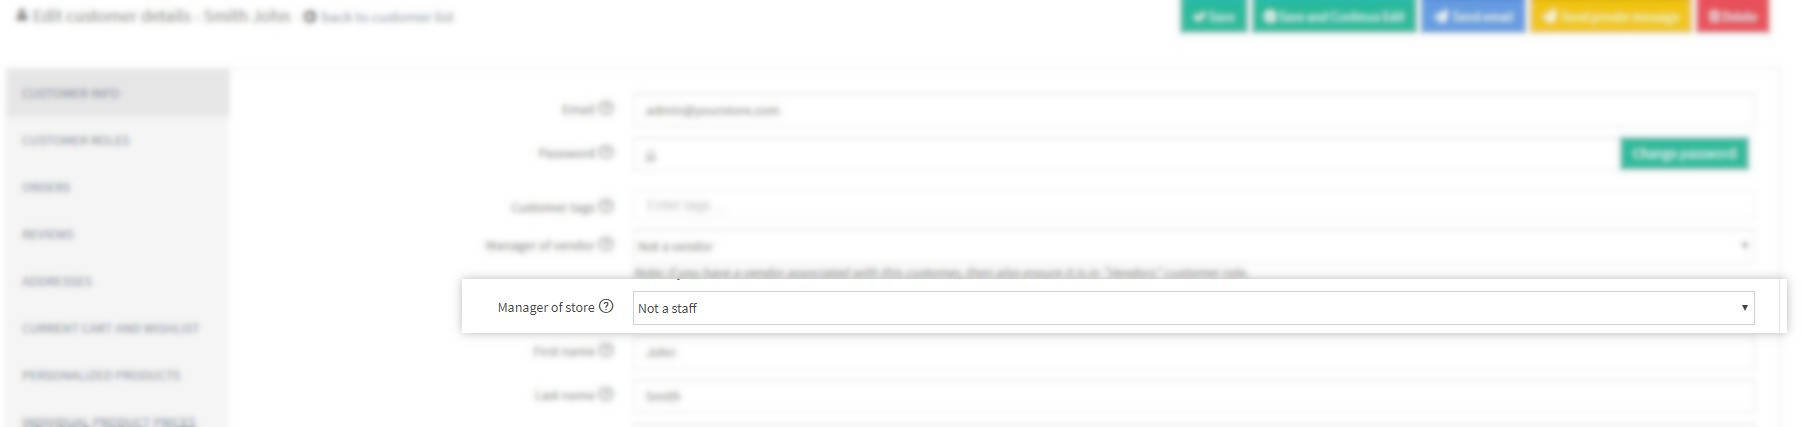
To configure the store manager – „Staff” account – you have to open the administration panel, go to Customer -> Customers -> Edit particular customer and in the „Staff” dropdown field, select the name of the store. The following user will be a manager of the chosen store.

The next step is to assign a customer group. You can do it on the same page, but in the Customer Roles tab.

Now let's take a loot at Access Control List (ACL) - permissions. Each case is individual, so you should assign permissions according to your needs and business model. Basic permissions are preinstalled, but the more advanced configuration should be made by the end-user.
To fully use the Staff feature, you should turn of the „Ignore „Limit per store” rules” in appsettings.json file.
3. Common issues
We recommend installing plugin and configuring Staff on the clean database. Existing database may not have configured multi-store limitation and all Staff users will see each product, category, blog, or news item.