Product was successfully added to cart Product was successfully added to wishlist Your bid has been placed
{{PopupAddToCartVueModal.ProductName}}
There are {{PopupAddToCartVueModal.TotalItems}} in your cart. There are {{PopupAddToCartVueModal.TotalItems}} in your wishlist. You have {{PopupAddToCartVueModal.TotalItems}} ongoing auctions
Layouts
Some elements may have multiple layouts. This is very helpful when you would like to create a very unique design and apply it to specific item.
List of items layout may be apply
- category
- brand
- collection
- product
- landing page
Applying is very easy, but it will require an access to the server, as is require to upload cshtml file. Creating template is similar to all types of items, below tutorial how to create a new template for landing page.
Create new template
First, need to localise a default file. Any defaults will be under main Views folder.
If you require any changes apply to any view file, do not change the default file. Copy it to appropriate folder structure (if missing, simply add) and do changes at the Theme/Default/View patch. It is very important, if your change will cause any issue, you be able to revert changes easily, just by removing the file. Also for the upgrading you may easily track changes and apply those to the upgraded one.
Currently, not using any third party theme, so will copy a folder to Default theme.
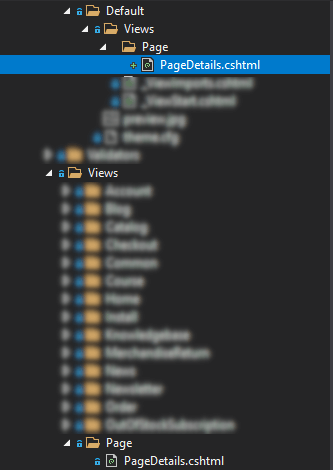
First step done. Time to rename this file. To made any changes need to open file from the Default theme (make sure you are editing the proper file). You may do this using your favourite editor.
My change will be a very simple, just to show you the way of possible applying layout.
So the original code
<div class="page page-page" id="ph-page">

    <div class="page-title" id="ph-title">
    <h1>@Model.Title</h1>
</div>
    <div class="page-body">
        @Html.Raw(Model.Body)
    </div>
</div>
will replace with the simply that one
<div class="page page-page" id="ph-page">

    <div class="page-title" id="ph-title">
    <h3><u>@Model.Title</u></h3>
</div>
    <div class="page-body">
        @Html.Raw(Model.Body)
    </div>
</div>
You may place here also a custom widget zone, which may be used by widgets. Use the code below as a example
@await Component.InvokeAsync("Widget", new { widgetZone = "custom_widget_name" })
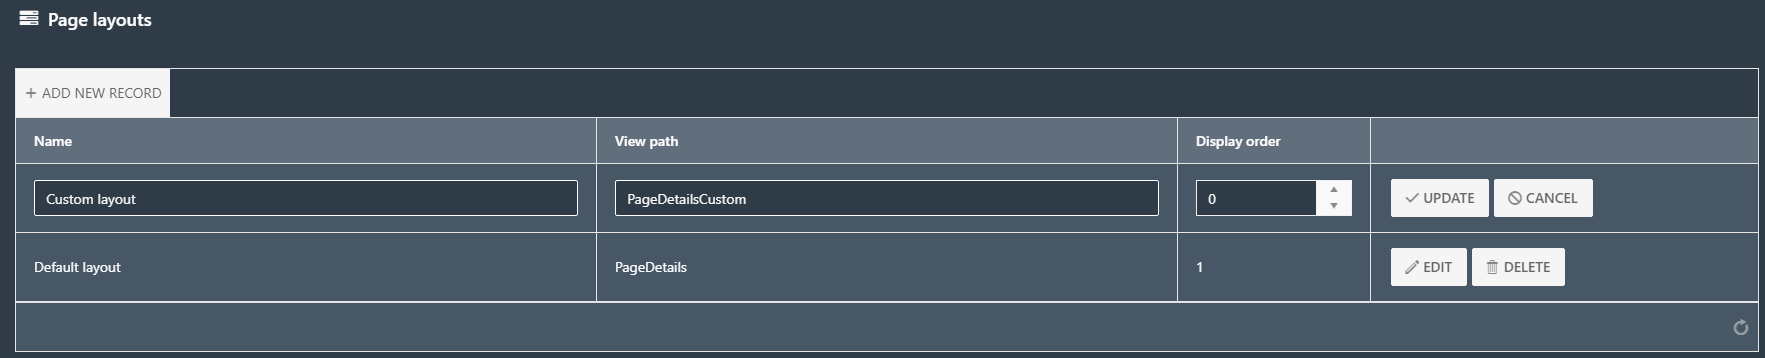
Time to save file and proceed back to the administrator dashboard. Open page layouts section and add, name is just for you to recognise template (helpful when add much more and need to apply specific one). View path is the name of the file.
If you follow this manual, at chapter about landing pages I have created a new page with the name "Event" [MORE]. Will apply to that page new layout, so just need to open it and find the setting "Page layout", from drop-down list click the newly added one.
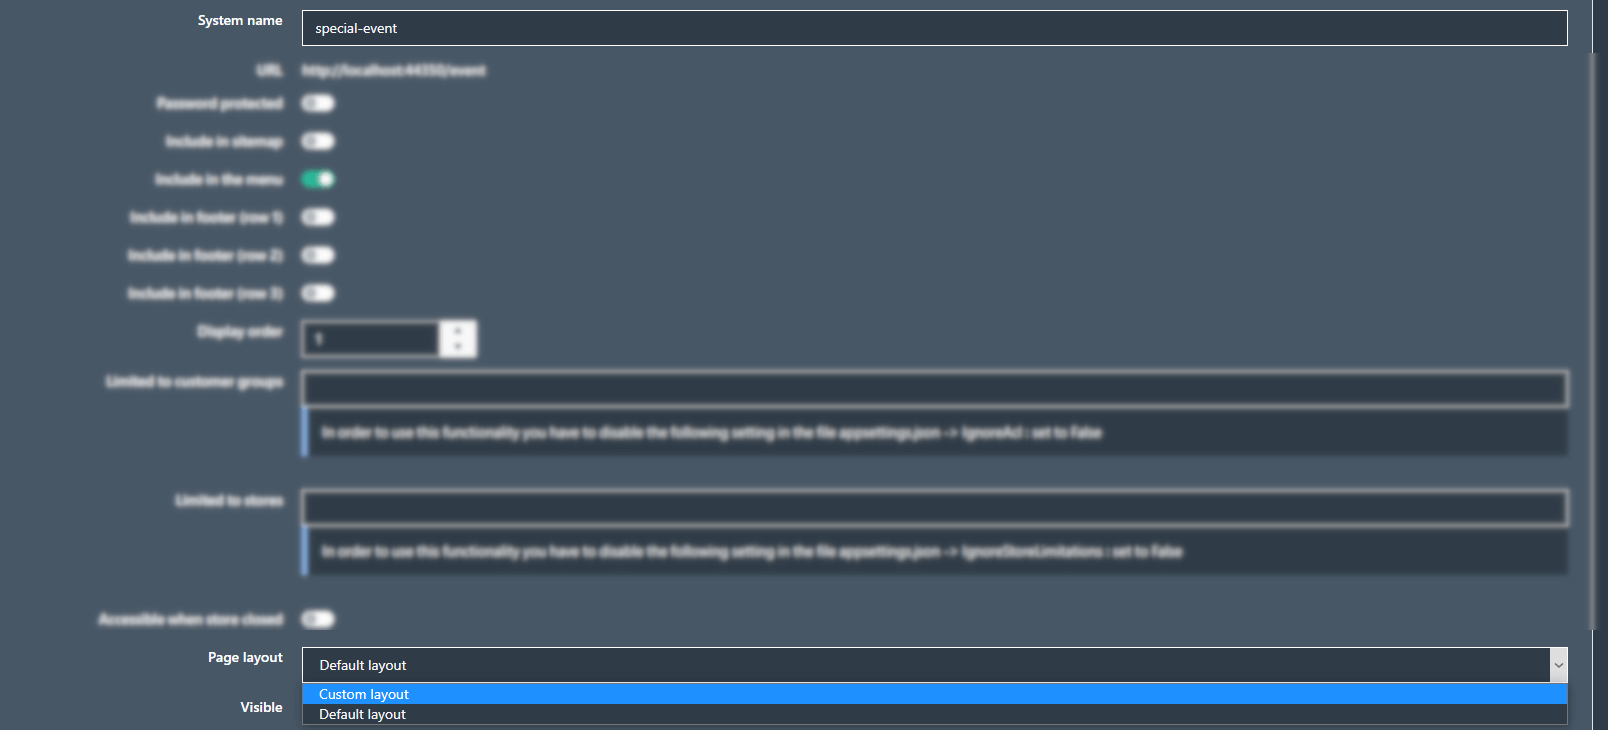
Save and open page at the public store. Title should be a bit smaller and underline.
