Product was successfully added to cart Product was successfully added to wishlist Your bid has been placed
{{PopupAddToCartVueModal.ProductName}}
There are {{PopupAddToCartVueModal.TotalItems}} in your cart. There are {{PopupAddToCartVueModal.TotalItems}} in your wishlist. You have {{PopupAddToCartVueModal.TotalItems}} ongoing auctions
Customers management
The Customers section shows you all customers that registered in your store, or place an order and leave account data in your store.
List of content:
- Customer list page
- Customer filters
- Customer details page
- How to add a customer?
- How to delete a customer?
- How to create a subaccount?
- How to assign a customer to a customer group?
- How to place an order as a customer?
- How to send an email to customer?
That section is divided into a few elements:
- Customers,
- Customer groups,
- Customer tags,
- Vendors,
- Vendor reviews,
- Sales Employees,
- Customer attributes,
- Address attributes,
- Activity log,
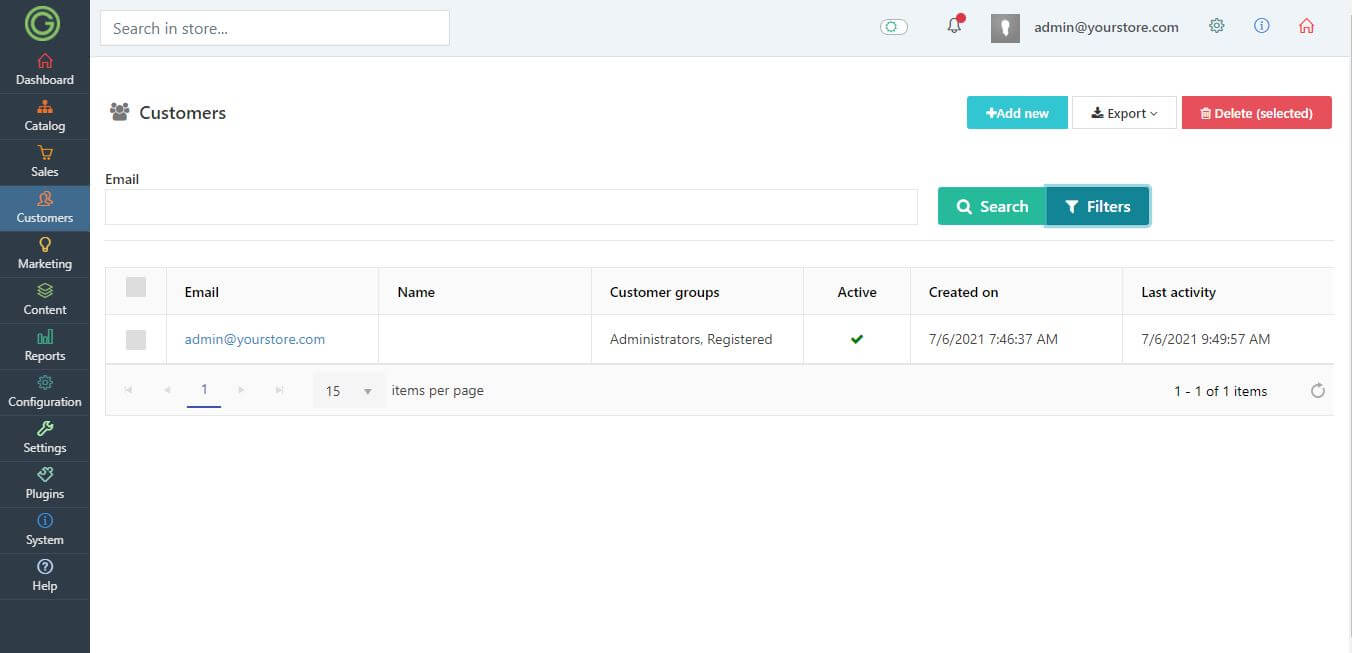
Customer list page
The main page shows all customers created in your store, by default list has applied a filter - Customer group = Registered, to avoid listing Guest accounts.

Customer filters
In GrandNode 2.0 you are able to filter customers. All available filtering options are hidden, to open them press the Filters button.
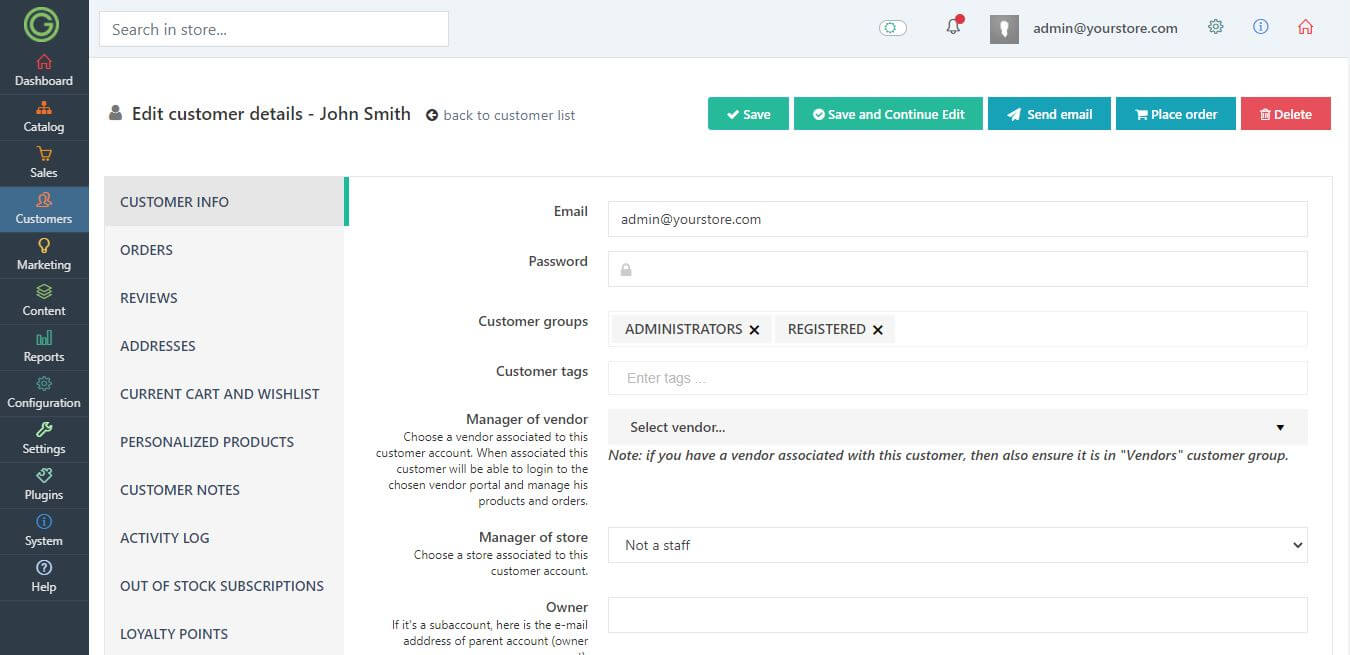
Customer details page
Click on any record from the customer list to get the full details of it. The customer details page contains all information needed to manage contact. The customer details page contains a few tabs:
- Customer info - Basic information about customers.
- Orders - List of all orders made by that customer.
- Reviews - List of all reviews created by that customer.
- Addresses - List of addresses assigned to that customer.
- Current cart and wishlist - If a customer has an active shopping cart or wishlist, it will be visible here.
- Personalized products - Possibility to create personalized offers for customers. In that tab, it's also possible to assign individual product prices for that customer.
- Customer notes - Additional customer notes to keep communication with the customer, or to leave additional information about the customer to co-workers.
- Activity log - The activity log contains all information related to customer activity in your store.
- Out of stock subscriptions - List of all out of stock products, for which the customer is waiting and waiting for automatic notification when they return to the store.
- Loyalty points - In that section, you can find necessary information about customers' loyalty points history.
- Documents - In that section, you can attach additional documents, if your customer management workflow requires it.

How to add a customer?
There are two ways of adding customers. First, it's obvious, customers register in your store. The second one is manual creation in the admin panel. To add a customer press the Add new button in the top-right corner of the window. You will see the empty form, fill the gaps and press save changes.
How to delete a customer?
There are two ways of deleting customers. First, directly from the customer's list. Check all customers that you would like to remove and press the Delete selected button. If you want to delete a single account, you can do it also from the customer details page. Just press the Delete button in the top-right corner of the window.
How to create a subaccount?
Our main goal was to enable larger companies to divide their accounts. For many companies, it was sometimes troublesome that one account was used by 5 employees who could simultaneously place an order and add products to the cart. When one user added a product to the cart, it was automatically added to another, if one of the employees removed the product, it was deleted elsewhere. That’s why we were looking for an easy way to allow business owners to create dependent accounts for each employee. Employees are able to fully use the store, place orders, but they can only see their orders. On the other hand, managers can see all orders placed by employees collectively.
Setup is very simple, in the Admin panel go to Settings -> Customer settings. Turn off the Hide Subaccounts Tab setting, you will see the Subaccounts menu item in the My Account section. Now, on the main account, visit the Subaccount tab, and create a new subaccount.
You can do it also directly from the admin panel. You need to add the user manually and set the Owner of the account. Just enter the e-mail address of the owner in the proper field.
How to assign customers to the customer group?
Every customer can be assigned to specified customer groups. Customer groupes are used to provide a better user experience. It's a basic GrandNode 2.0 feature, by default we have a few customer roles:
- Administrator,
- Registered,
- Guests.
You can limit the content in your store to a particular customer group. For example, you can hide prices for guest users, set lower/higher prices for the specified customer groups. Customers can be automatically added to the customer group as a reaction to customer action. However, you can do it manually on the customer details page. Just scroll the window on the main Info tab and select group from the multi-select input field.
How to place an order as a customer
You can also place orders on behalf of your customers. To do that, you need to impersonate their session. Do it by pressing the Place order button at the top of the screen. You will be redirected to the main page of the store and logged in to their account. Add products to the cart, make an order and press the Logout button to return to the admin panel.
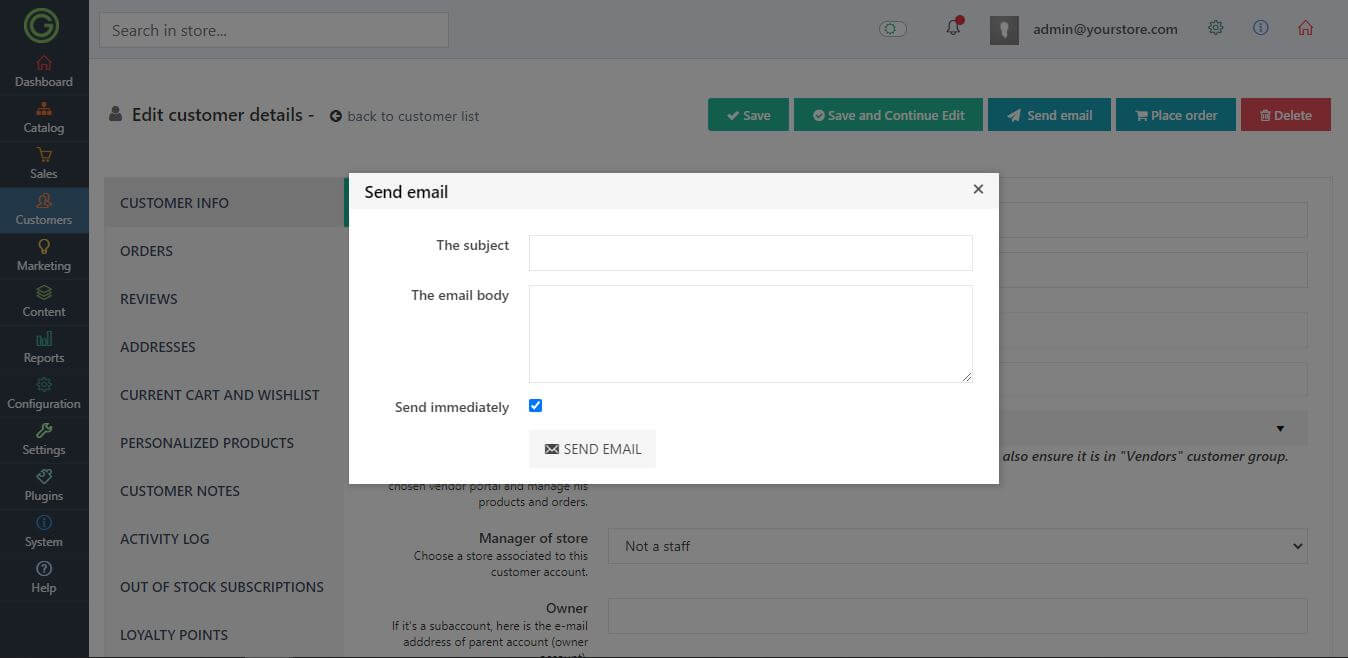
How to send an email to the customer?
You can reach your customers with email, sent directly from customer details page. To do that, press the Send email button at the top of the screen and fill necessary fields.